Elske Sizing Chart by Donovan
Important: when you print this off be sure to uncheck the 'fit to page' box. The chart needs to be printed at 100% so that it is accurate.
Once printed take one of the pages (it does not matter which) and fold along the top most line (above the horizontal numbers) so that the top space is folded behind the printed side.

Turn the page upside down. Match the fold to the top line on the other page. Tape in place.
Remove shoes. Wear socks. Also, it is best to do the chart after you've gone about your normal business for the day. Midday to evening is a good time. Unless your day begins in the evening. Its important that your feet have been relatively active in the way that they are during your usual routine.

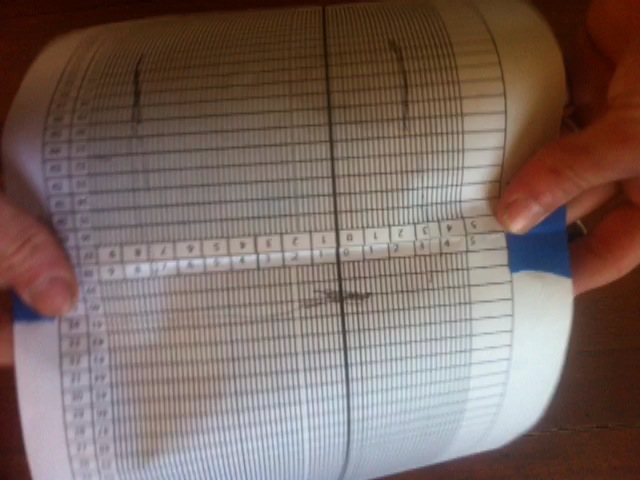
Place on the floor lengthwise. The lines that extend to the bottom of the page indicate which foot to measure. If the lines are concentrated on the left, measure the left foot. If concentrated on the right, measure the right foot. You will want to have the back of your heel placed against the horizontal bold line. Use a straight edge placed perpendicular to this line. Place the back of your heel against it.

The bold central line should be centered at the back your heel.

The bold center line should extend through the center of your big toe.

Next, holding a pencil perpendicular to the chart, mark where the big toe ends.

Without changing the position of your foot. Mark both sides of your foot at its widest point.


Remove your foot. Using a straight edge. Trace vertical lines from the foot width points to the numbers in the horizontal row in the middle of the chart.


Use a straight edge and create a horizontal line that extends toward the numbers in the vertical column at the edge of the chart.

Now make note of the numbers. When you send me this information I'd like it formatted in the following manner: Right/Left foot , Length, Width number to the left of the bold central line, Width number to the right of the bold central line.
Special notes:
Length: If the length line falls anywhere in between two numbers, choose the higher number. Never round down. Do not approximate the decimal. Numbers correspond to the line below them.
Width: Each of the small increments on the width gauge is .2. So, if you find that a width mark falls two lines beyond the 3, you'd record 3.4. Numbers increase as they go away from the central line.


Rotate the chart and repeat the steps for the other foot.
No comments:
Post a Comment