Buy SHoes

Tuesday, August 28, 2012

Last Making


I've been making lasts. Which is a cool and rewarding thing to do. A shoemaker just can't make a good pair of shoes without a good pair of lasts. I have made many lasts over the years. I do have a love of working with wood. And, so at times my shoe making shop is a wood working shop. Wood and leather have some characteristics that make them like cousins. Similar enough for it to make sense for a leather worker to be a wood worker. 

Although I have many lasts already, I do have some pretty big gaps in my size stock. A shoemaker needs to have at least one pair of lasts for each size. So, the first stage in this project is to create a full set of lasts. These lasts are made from large pieces of dimensional doug fir. Some last makers will say that fir is too soft a material to use for this purpose. I have made lasts from Ash and Maple in the past. What I find is that given the proper maintenance and care fir lasts can live a long and useful life. The ease of working with fir to achieve the right shape allows for me to make a solid lasting last in a short amount of time. The overall savings of time and negligible difference in durability make it a wise choice and contributes to the efficiency of our handmade process.


So, large pieces of dimensional lumber are cut into blocks. Each block is about 13"X5"X4". I use some pretty simple geometry to identify several angles. These angles are used to cut lines with a miter saw. I cut four lines from the 'top' through to the 'bottom' of each block. I always leave a significant piece of the top and bottom flat so that they are parallel to each other for much of the shaping. This allows me to have a base from which to do geometry that maintains relativity to the other angles. Once the four lines have been cut from the top, measurements are made to determine where key features of the foot and last are to be placed. These important lines are ball, waist, and heel.


Using some relatively simple math, I find a few key ratios that have to do with widths and lengths. One of these ratios helps me to determine where the front of the ankle ends. From that point, I draw part of an ellipse that I then carve out. This arc defines the shape of the front of the shoe down to the toe. The fifth major cut is another arc that extends from middle of the heel to the waist of the foot. Once these five essential cuts have been made there is a fair amount of brute force shaping which I do with two of my favorite tools: The flexible draw knife and the spoke shave.


 The spoke shave is an old tool that used to be used to shave down the wooden spokes of wagon wheels and chair legs. They are still an extremely useful tool.


 The draw knife is not much different than the spoke shave outside of the fact that it is capable of removing a great deal of material very fast. This particular one is made of a flexible steel that allows some finesse in shaping.


Another key tool in this stage of the work is the Japanese Flush cut saw. It rapidly cuts through fir and gives nice straight cuts.

I will be editing and posting a time lapse film of me turning a block of fir into a last over the next few days.

More Forward Line OXford Pics


Wednesday, August 22, 2012

Choices

Okay. Thank you all for being patient. I hit a few snags with photography equipment.
Here are pictures of prototypes that represent the shoes you will receive in gratitude for your pledge. I have purchased a bunch of beautiful materials. It's been wonderful to sit in the studio and work with all of it. Right now I'm putting most of my effort into getting these images out for you. And, I'm carving lasts for the shoe sizes I don't have lasts for. My shoe shop turns into a wood shop for that process. I am excited to get the mess cleaned up and get back to shoemaking. I will post pictures and blog about the last making process soon.

The colors offered are white, natural leather, Chestnut Brown, grey, and black. I have included pictures of the colors either in the form of pictures of the leather itself or shoes made in the color. I do all of my own dying - except for white. The white is a beautiful English calf leather. It is not a bright white but a slightly off white. I think it is beautiful.


English Kip

Below is the standard Unisex Oxford with Grommets. This shoe can be ordered without grommets. The lace holes on these without grommets will be punched and reinforced (approximately 1/8" diameter. These can be ordered in any of the colors. You may choose a stitch color of white or black. You also have a variety of soles to choose from. All shoes come with leather soles that are stitched to the uppers. A protective rubber outsole covers most of the stitching which prolongs the life of the shoe. I prefer a thin subtle sole. Outsole options are : white chevron, black chevron, black thin micro-waffle, and white micro waffle. All are pictured below.


Standard Unisex Oxford with grommets in black.

Here we have the Female Forward Line Oxford in white. Available in all color options with choice of outsole texture.


Female Forward Line Oxford in English kip white.

Next, Unisex Futbol Boot. Available in all color options with choice of outsole. Pictured here with a wax finish.


Futbol boot in Waxy Black.

Female Oxford Line Boot. Available in all colors with choice of outsole.


Oxford Line Boot in Grey with white chevron outsole.

Bootie. Pictured here in dark green. Limited number available in this color. Otherwise available in all color options. Lined with english kip. Italian leather sole with recessed stitch.


Bootie in green.

Ballet flat. Available in all color options. Sole is soft leather stitched to upper. Outsole is thin micro-waffle (white or black.)


Ballet Flat in white.

All shoes are lovingly conditioned with Bentley's original Liquid Glycerine. I hand finish the leather. The product is supple beautiful leather with beautiful character. Carnauba creme and saddle laquer are also used to create a protective and durable finish. All leather shoes come out of the box a little stiff. I put a lot of effort into working with the leather to give my shoes a wearable and forgiving feeling right out of the box. All sole material is treated to be weather proof. The outsoles provide an added level of protection. The life expectancy of your shoe is closely tied to the protection of the sole. Replacing the outsole when it wears through will cost very little compared to the replacement of the leather (stitched sole.) Regardless, my shoes are meant to be loved and lived in. Below are images of the threads, sole material, and leather. Please take some time to make your choices. As well, I am happy to make any shoe here for any size and sex of foot. My gender assignments are suggestions. Thank you all.


Friday, August 17, 2012

Beginning


I spent most of the week gathering materials. I can't to turn it all into shoes. I spent yesterday cutting giant pieces of fir down to blocks that I will form into lasts (shoe forms.) Today I will be finishing prototypes and dye samples.
I've been able to meet up with a few of you this week too. I'm so grateful to everyone for their support. Next week will be a busy one with lots of pictures and posting. Everyone be well. More soon.

Friday, August 10, 2012

Victory


All of you wonderful people have chipped in to make this project go. I can not wate to make each and every shoe that has gone into funding this project. 

Thursday, August 9, 2012

New Bootie


Here is a new Bootie that is an option at $ 150.00 pledge level. The upper is stitched to a leather sole and nailed to a rooden heel with a leather pad. Pictured here in a dark green. I have a limited amount of leather this color. So, only one pair will be issued in the green. Other color options without limit are white, black, grey, chestut, and natural leather.
Right now the project has 45 hours to go. We are $1,215.00 shy of making the goal. I like to think that I'm an optimist. Please spread the word. If eight more people pledge $ 150 or more we can make it. Thank you to everyone who has helped out so far.

Elske is a Danish word meaning love. I felt it an appropriate name since so much love goes into this work. But, it also matches the spirit of the last few weeks. Thanks for the love and support.


Wednesday, August 8, 2012

3 days to go


We're getting close to the funding date for Elske Project. 3 days left. Please help spread the word.

Tuesday, August 7, 2012

Tools

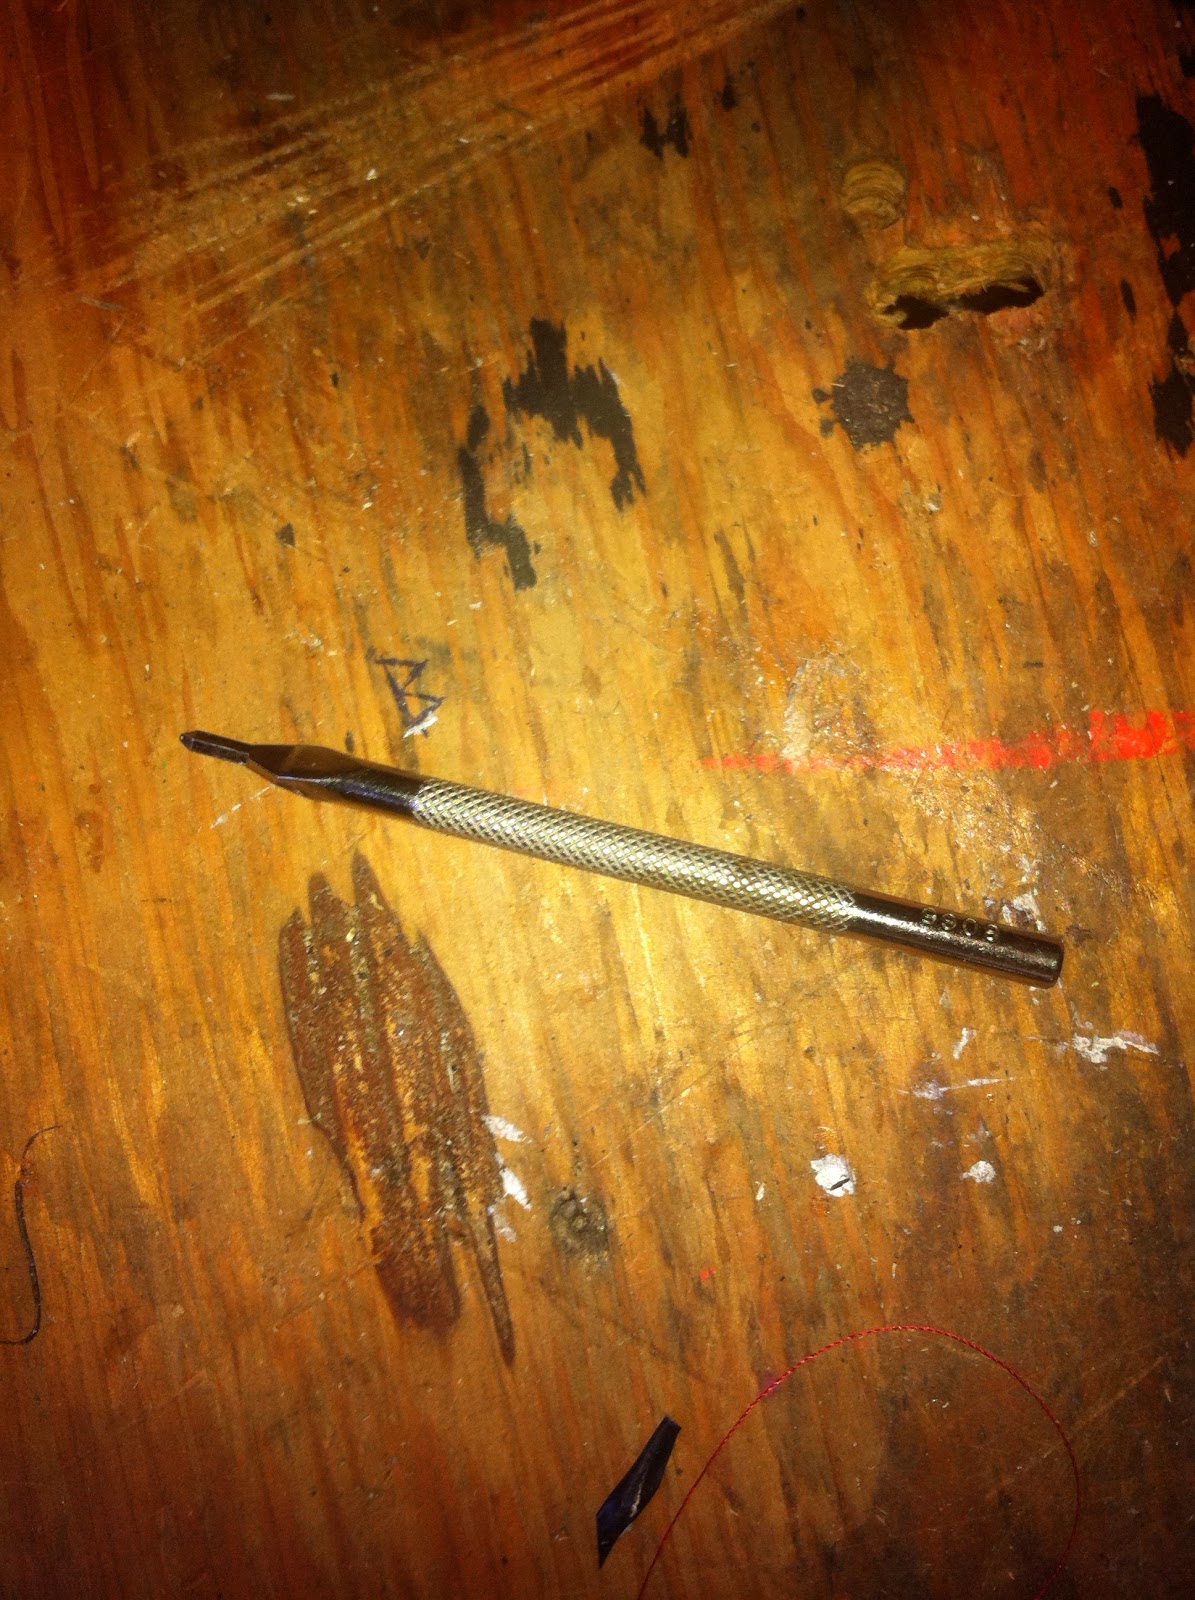
The Japanese Skife. This is one of my favorite tools. It is highly versatile. While it is called a skife, I rarely use it as a skife. I use it to cut patterns, to create grooves in which I recess sole stitching. I use it to trim flush excess sole material. as with all cutting tools, it's important to keep it sharp. I devote a fair amount of time ot maintaining my tools. Anyone committed to working with leather using hand tools should invest in good set of wet stones and a strop. As well, take the time to learn the art of sharpening tools. For me, sharpening tools is meditative. It does not take long to do. And, it is yet another way for one to use their hands to work with tools. The more I work with my tools, the more I feel like they are an extension of me.


My Japanese Skife

Punches

The activity that consumes the most time and energy in the process of shoe making is stitching. Stitching is comprised of two stages, punching and threading. I come from a woodworking back ground. In many ways working with wood and leather are very similar. Some of the oldest structures in Japan are made of wood. The reason these structures have lasted so long has much to do with the way in which their builders built the structures. These structures are primarily joined together rather than being nailed together. The process of joining has many variations. But, simply put, when we join wood we make a space in on piece of wood that fits another piece of wood. Like a puzzle or a key, two pieces of wood join together in a way that does not cause undue stress on the wood. When we drive a nail into a piece of wood, we are forcing apart its fibers. That in itself is damage in the structure.
I take the same approach with leather. A stitch canot simply bedriven through a piece of leather. Doing so will stress the leather and cause tearing and eventual breakdown of the piece one is trying to build. So it is important to punch out every hole before picking up the needle and thread.
Hand stitching is an art. And, the result of hand stitching can be very beautiful. If you are interested in working with leather,I highly recommend devoting study to hand stitching. There is a book called TheArt of Hand Stitching, I will track down the author's information, and post it here.
My method is simple. First I use a stitch wheel to mark stitches (6 per inch.)


My stitch counter.

The stitch counter makes little dents in the leather spaced evenly. You can buy these wheels in different sizes to make different stitch spacing. The wheel allows you to simply drawout your stitch line. The result is even across curves and straight lines. 
The next step is to punch holes. I use diamond punches (diamond referes to the shape of the whole.) One punch has four tines. These are spaced to match my stitch counter. I also have a single tine diamond punch which allows me to follow markings on curves.


Four diamonds


One diamond.


Punching Diamonds.

When punching the leather, you will need a solid surface that can be punched into beneath the leather. I use a large piece of fir structural lumber. There are special mats that can be used. It is important to use material that will not damage your tools. I recommend using fir.


Punch block.

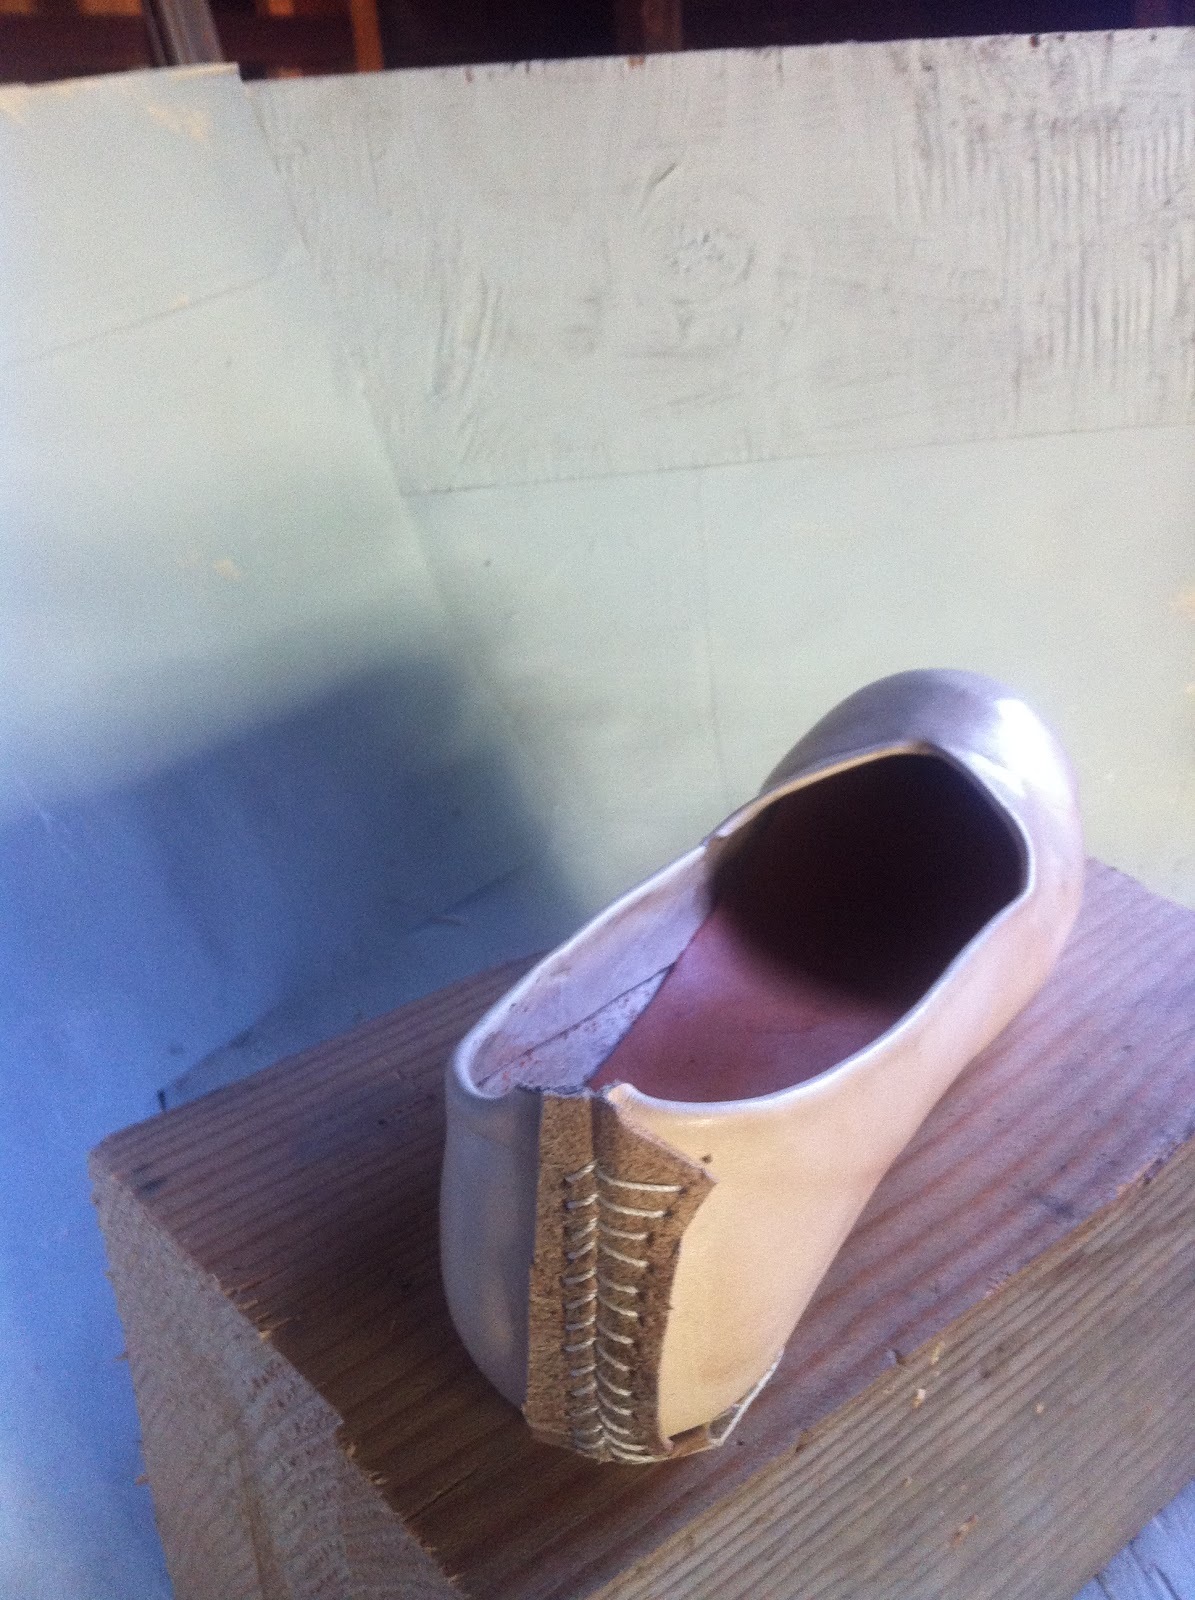
Once I have punched out every marked stitch, I trace over the line with a marker tool. This is a steel tool that has a small rounded end. I dampen the leather slightly and apply pressure with the marker to make a slight recess for the stitches to sit in. 


Marker

I use surgical needles that I buy from Oregon Leather for stitching. I use two needles. One needle at each end of my thread. I choose the length of thread by measuring the length of the line I will be stitching and multiplying by two and a half. If my stitch line will be 10 cm then my thread length will be (10 * 2.5 = 25cm.) 

Quick lesson on stitching:

Bring the needle through the first hole from the nap side of the leather. Draw the thread through until the piece of leather is in the middle of the total length of the thread (the same length of thread should be on either side of the stitching piece.) Run the first needle through the second hole on the finished side. You should have both needles on the nap side now. Now use the other needle and bring it through the second hole on the nap side. You will now have one needle on each side of the leather. Carefully pull at both needles to make the stitch taught. Take the thread on the finished side and pull toward the bottom of the work. On the nap side pull the thread in the opposite direction (toward the top of the work.) Repeat these steps until you've completed your stitch line. 

This post is really about my tools. I will do an expanded post about stitching soon.

Hammers!


My sledge hammer.

Hammers are essential. A sledge hammer is a great universal tool that gets used in my shop when I am glueing. After cement has set and pieces are stuck together one must hammer the pieces together to insure the cement bonds and air is forced out of the joint. I usemy sledged to drive most of my punching tools. I also use the sledge to hammer down stitches. I cover the stitches with a piece of scrap leather and tap down the stitches. Hammers don't work without having a solid work surface. So their counterparts are anvils. 


Railroad steel anvil.

Like many leatherworkers, I have a piece of steel rail from a railroad that I use as my go to anvil for most tasks. I use this when tapping stitches, or hammering glued pieces. It is a great general purpose anvil.


My tack hammer.

I use my tack hammer to nail uppers to the last when I am lasting. One side is magnetic which helps hold nails. 


No handle sledge.

I use this tool to set rivets and a handful of other tasks. It's a sledge hammer without a handle. It can function as a little anvil. It has a smooth face which helps when setting snaps and rivets.

Shoe Anvil Photo Here

The shoe anvil or jack stand is a great tool to use for attaching soles with glue. It has interchangeable pieces that correspond to shoe sizes. They are useful for attaching hardware in hard to get to pieces. It's an anvil that fits inside of the shoe. Very useful.


The 3-in-1


Again

My 3-in-1 does three jobs. One, it cuts through sole material with ease and precision. It also has a nice skiving option that I use to skive soles. I can also use it to press sole stitches. It really helps save time. 


Skiver on the 3-in-1


Edger.

Edgers come in a few sizes. I recommend having one of each. It's also important to keep these sharpened. You can purchase a special strop that is shaped to match their blades. These tools are invaluable when they are sharp. They will frustrate and ruin your work if they are not sharpened. I use the edger to trim and bevel excess leather - usually above stitched lines. They are very useful for flush trimming rubber mid-soles. 

more soon....